Welcome to this comprehensive guide on how to create and manage your business listing on Yell.com. This guide will walk you through the steps of account creation, adding a new business listing, and claiming an existing listing. Whether you’re a new user or looking to optimize your current listing, follow these easy instructions to ensure your business is accurately represented and visible on Yell.com.
Account Creation
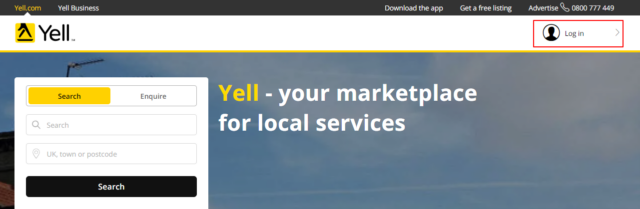
Step 1: Go to https://www.yell.com/ and click ‘Log in’ at the top right corner:
Step 2: Select the ‘Sign Up’ tab on the right and create your account: 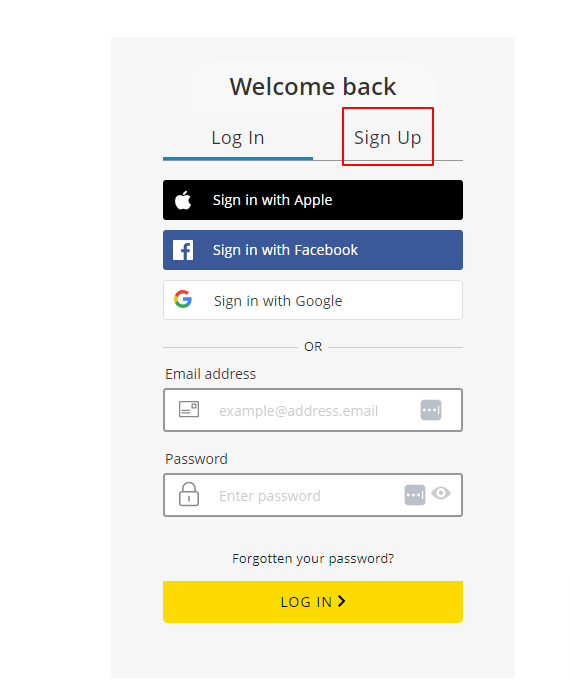
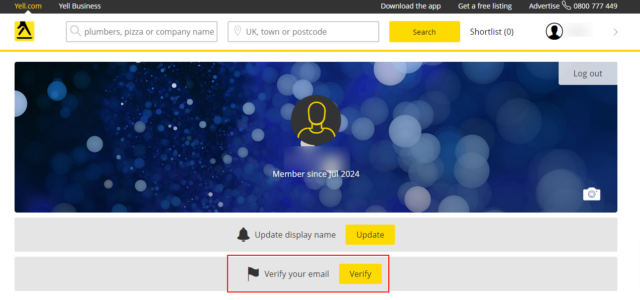
Step 3: Check your inbox for the verification email and follow the instructions. If you didn’t receive the email, log in to your account and click “Verify” to resend it:
Adding a Brand New Listing
Step 1: Use the search bar to check if your business is already listed.
Step 2: If your business is not listed, scroll to the bottom of the page and click ‘Add Business’ or ‘Get a free listing’ in the top bar:
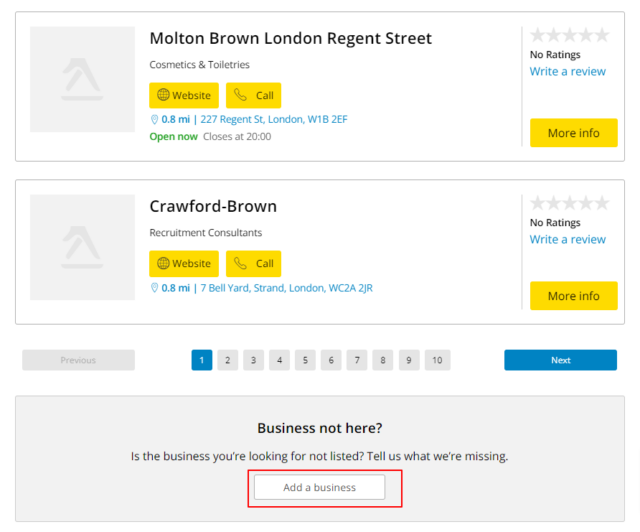

Note: When adding a business via the button at the bottom of the page, make sure you select the first option that says, ‘I manage this business, and I’d like to create a listing.’ This way, you will own the listing. The second option will allow you to suggest a business place to Yell.com, but you will not own it.
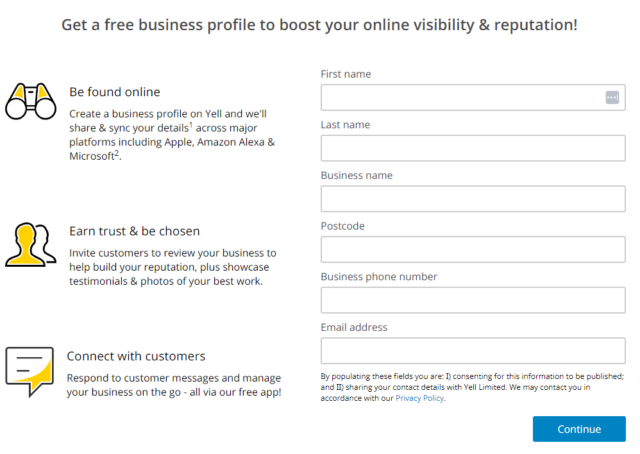
Step 3: Fill in the form with your business details and click ‘Continue’:
Step 4: Select your address from the suggested addresses under the drop-down menu, or if it is not there, click ‘Add manually’ and fill in the form: 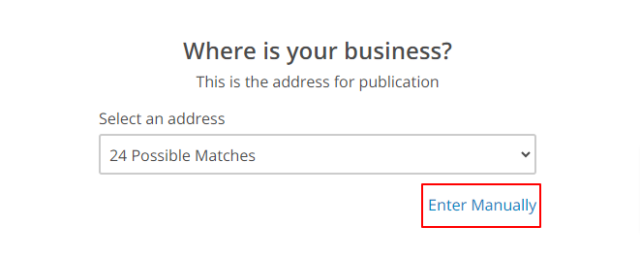
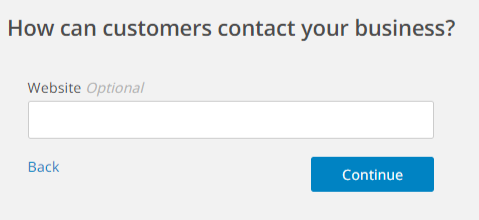
Step 5: Add your business website URL (optional):
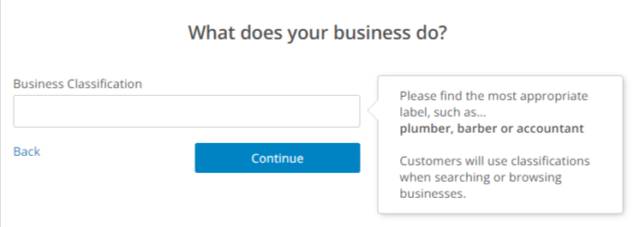
Step 6: Add your business category. You will need to select one of the suggested options, as unique categories aren’t accepted:
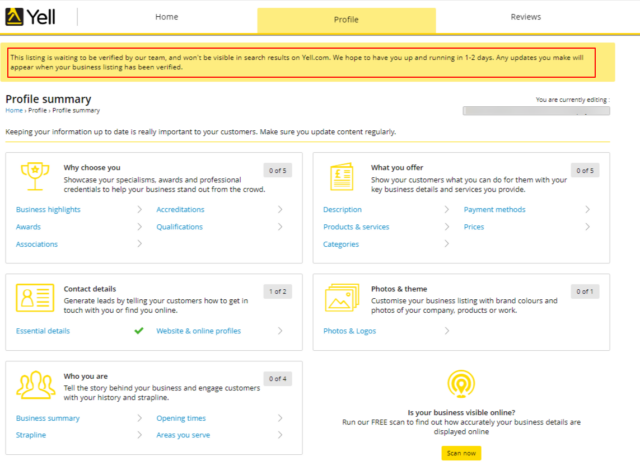
Step 7: You will be redirected to the main dashboard. Here, you will see the banner notifying you that your listing is pending verification. There is nothing you need to do about this—Yell.com moderators will review the listing and email you when it is published.
You will also see several sections where you can add additional information about your business, such as logos, images, opening hours, descriptions, etc.
Claiming an Existing Listing
Step 1: While logged in to your account, go to https://www.yell.com/ and search for your business: 
Step 2: Find your business in the search results and click on ‘More Info’: 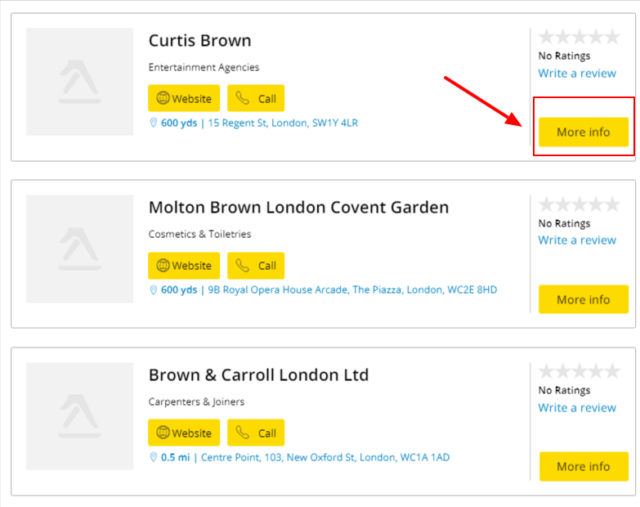
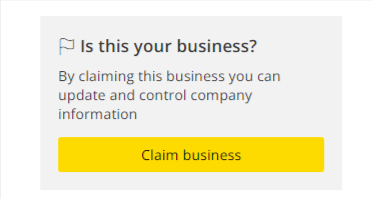
Step 3: Scroll to the bottom of the page and click ‘Claim Business’:
Step 4: In the new pop-up that will appear, click on ‘Manage this business’: 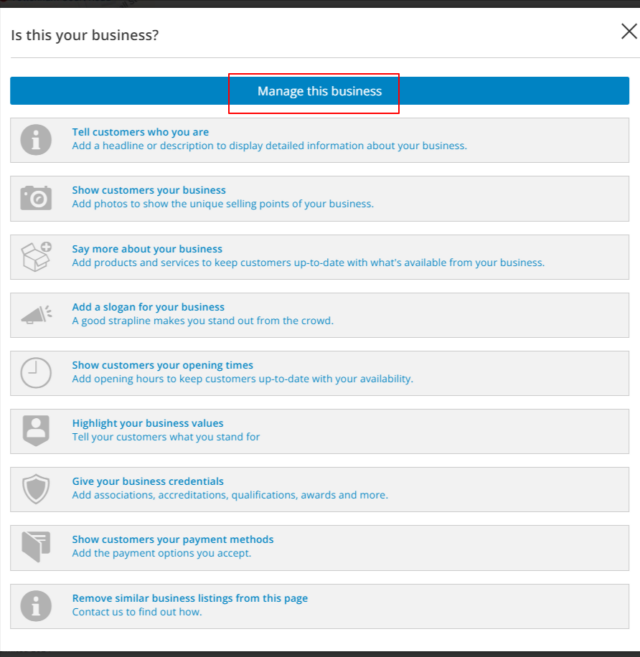
Step 5: In the next overview page, click ‘Claim this business’: 
Step 6: You will then be redirected to the main dashboard, where you can add more information about your business or correct any outdated details.
Contents
Get Listed!

Building citations?
You're in the right place! Save yourself hours—let us do the work.
